 RSS Feed
Unreal 2 Terrains
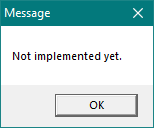
Creating a terrain in Unreal 2 works similarly to UT2004, but the editor is much more unreliable. One major difference, however, is that the terrain editor in Unreal 2 cannot create heightmaps by itself. Clicking the blank page icon in the editor to generate a new one sends a very clear and concise error message.
The heightmap has to be created outside UnrealEd and imported into Unreal 2. It can then be edited normally.
Heightmap Creation
The texture used for the heightmap can be created in any image-editing program, provided it can output an 8-bit picture (256 colours). It doesn't have to be grayscale. It can feature the first draft of the landscape, but the texture will be transformed into grayscale in UnrealEd, so leaving it blank and modelling the terrain in the editor is a better choice.
Like all other textures, the heightmap's width and height must be powers of 2 (64 x 64, 256 x 256, etc.). Save this texture as a .pcx or .bmp file.
This image can then be imported (usually into the MyLevel package). No compression should be used as this would convert the texture to DXT and make it unusable. Generating mipmaps is also not advised, though in practice, it rarely causes any problem.
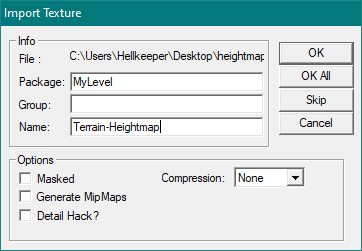
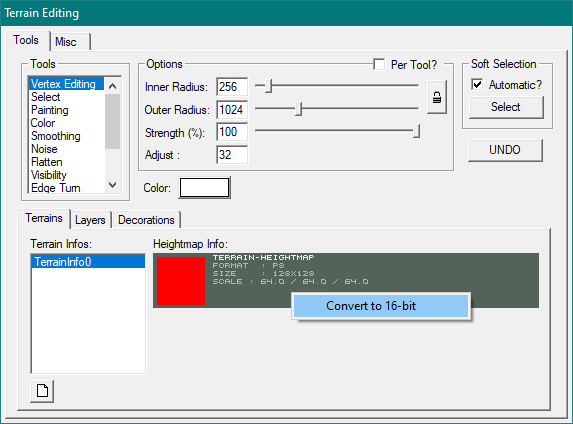
The imported texture should be registered in the editor as [P8], meaning it is correctly recognized as 8-bit and palettized. This is the only format the terrain editor can later convert to the [G16] format, the only one Unreal can use for heightmaps.
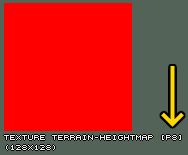
If the imported texture shows up as [RGBA] or any other format in the texture browser, it was probably saved as 16-bit or more and UnrealEd will not be able to turn it into a usable heightmap.
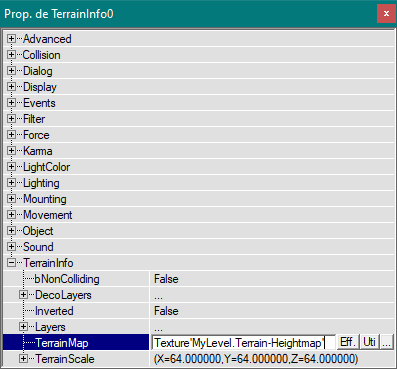
In the space subtracted to house the terrain, add a ZoneInfo actor with bTerrainZone = true. Add a TerrainInfo actor and add your recently imported heightmap in its TerrainMap field.
At this point, any interaction with the TerrainInfo will crash the editor (that includes moving or deleting it). Rebuild the map and save it.
Open the terrain editor. The Terrains tab in the lower part of the editor might not show the imported heightmap yet, but switching to one of the other tabs (Layers or Decorations) and back will update the window. A simple right-click on the heightmap displays the option to convert it to 16-bit.
Once again, the editor might not update, but switching to another tab and back should show the heightmap is now G16. The process usually makes the entire heightmap black. Once the heightmap as been converted, the terrain can be sculpted.
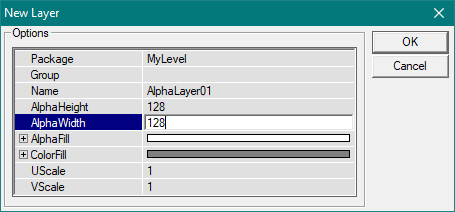
Open the Layers tab and create your first layer normally. Ensure the AlphaFill is pure white to make the texture fully visible on the entire terrain. Set the AlphaHeight and AlphaWidth to the same size as the heightmap to prevent visual artifacts.
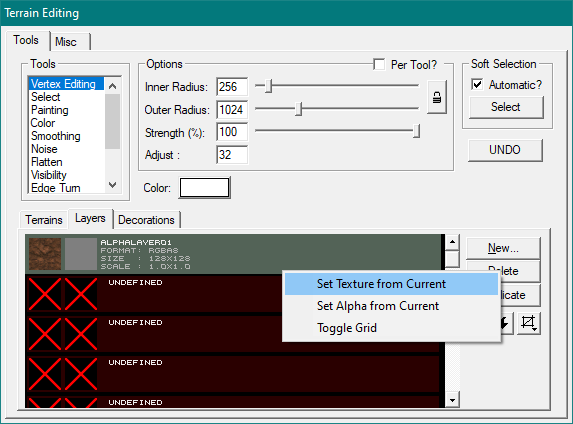
Give the layer a texture. Notice the Unreal 2 terrain editor shows the texture and AlphaMap in the Layers tab of the editor, a feature lost in UT2004.
Rebuild the level to make the terrain appear. While it existed before, the lack of any layer meant it had no texture and could not be seen. If converting the heightmap to G16 made it fully black or white, the terrain might be far above of beneath the TerrainInfo actor. Using the WireFrame mode in the 3D viewport, the white mesh of the terrain will be visible through the level's geometry.
At this point, the terrain can be edited exactly as in UT2004, but saving very often is important as the editor is far less stable. Moreover, using any tool will turn the affected terrain sector black as it updates its current lighting. Adding Lights makes editing easier and a Sunlight is recommended, as it affects the entire map.