 RSS Feed
Changing Enemy Skins
All Unreal 2 marines, mercenaries and Skaarjs come in 3 to 5 colors and some of them have additional attachments like backpacks. You can use these variations to add diversity to your map.
Usual Method
The skin color can easily be changed by using the Skins array (as with static-meshes). This will replace the default skin on the character. However, this process can be tedious when multiple characters are concerned. It also doesn't give access to attachments (including most character heads).
A better method is to change the character's blueprint.
Blueprint Change
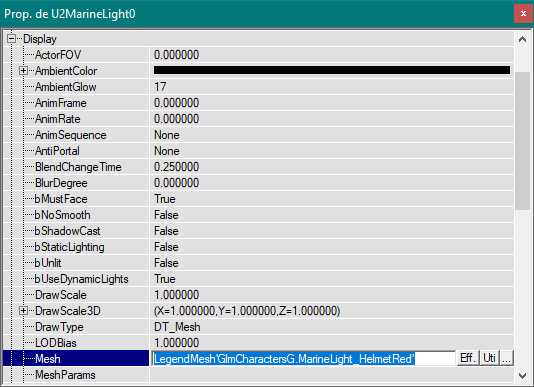
Open the Pawn's properties and look for the Mesh field under Display.
Change the Golem blueprint used by the selected character. For example, the default blueprint used by the light marine is MarineLight_HelmetBlue. Change it to MarineLight_HelmetRed to get a red marine.
You will immediately see if you are referencing a valid blueprint: the Mesh field will go empty if an invalid reference is entered. On the contrary, a valid reference will instantly change the Pawn's skin and the field will take the correct capitalization, regardless of how it was written.
To find out which blueprints are available and what their names are, you have to open Golem Studio.
In the Workspace window, look for the character whose skin you want to change and open the Entity Blueprint list. You can use any of the names listed here (the light marine, for instance, has over 70 variations).
